I turned a CNC router into a drawing machine.
When my former boss gave me a small CNC router, I wanted to make something with it immediately. I couldn't justify buying wood or metal to machine. So I asked whether I could teach it to draw.
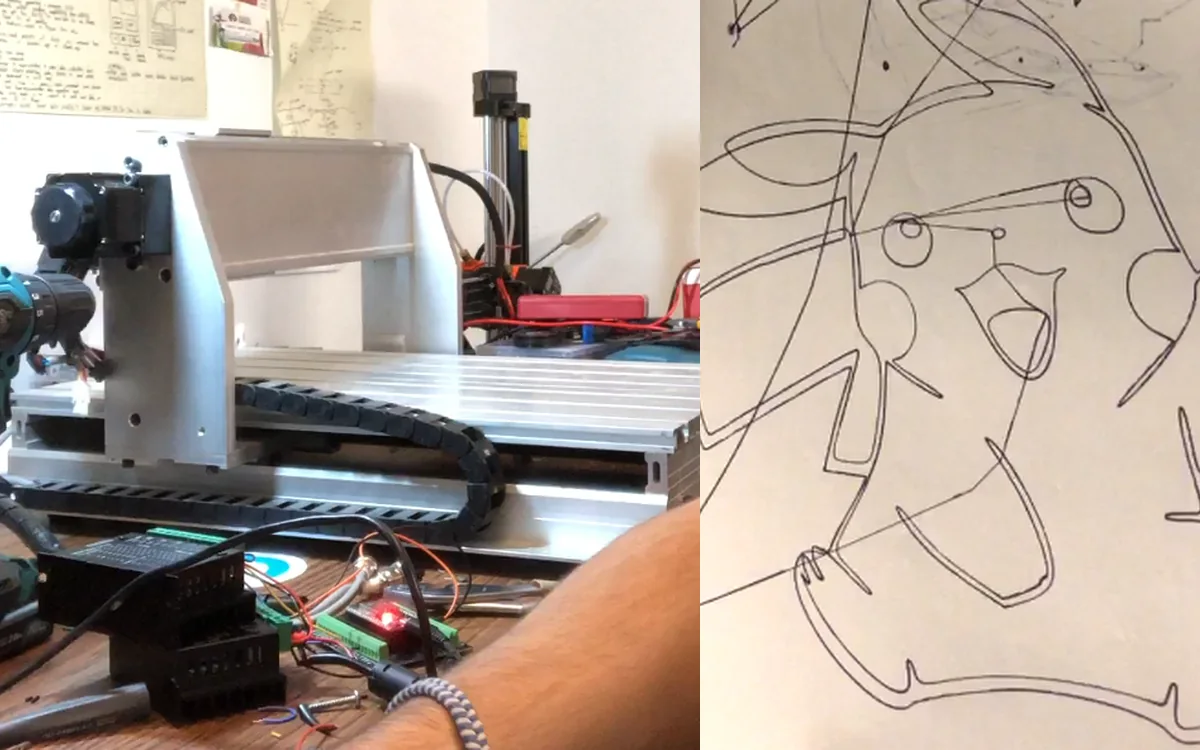
- 3 videos: Original public TikTok build posts
- CNC + code: Hardware and custom drawing paths
- Built: Working drawing machine
Photos and actual test resultsSwipe or use the arrows · 7 images
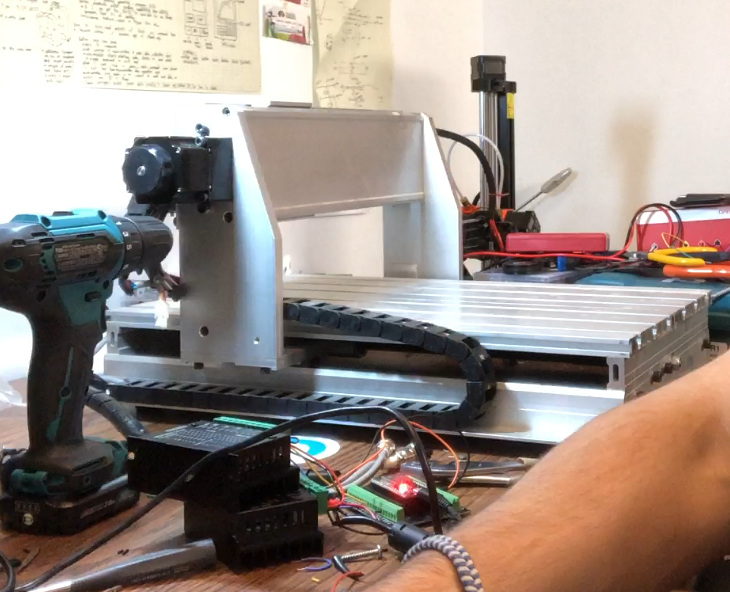

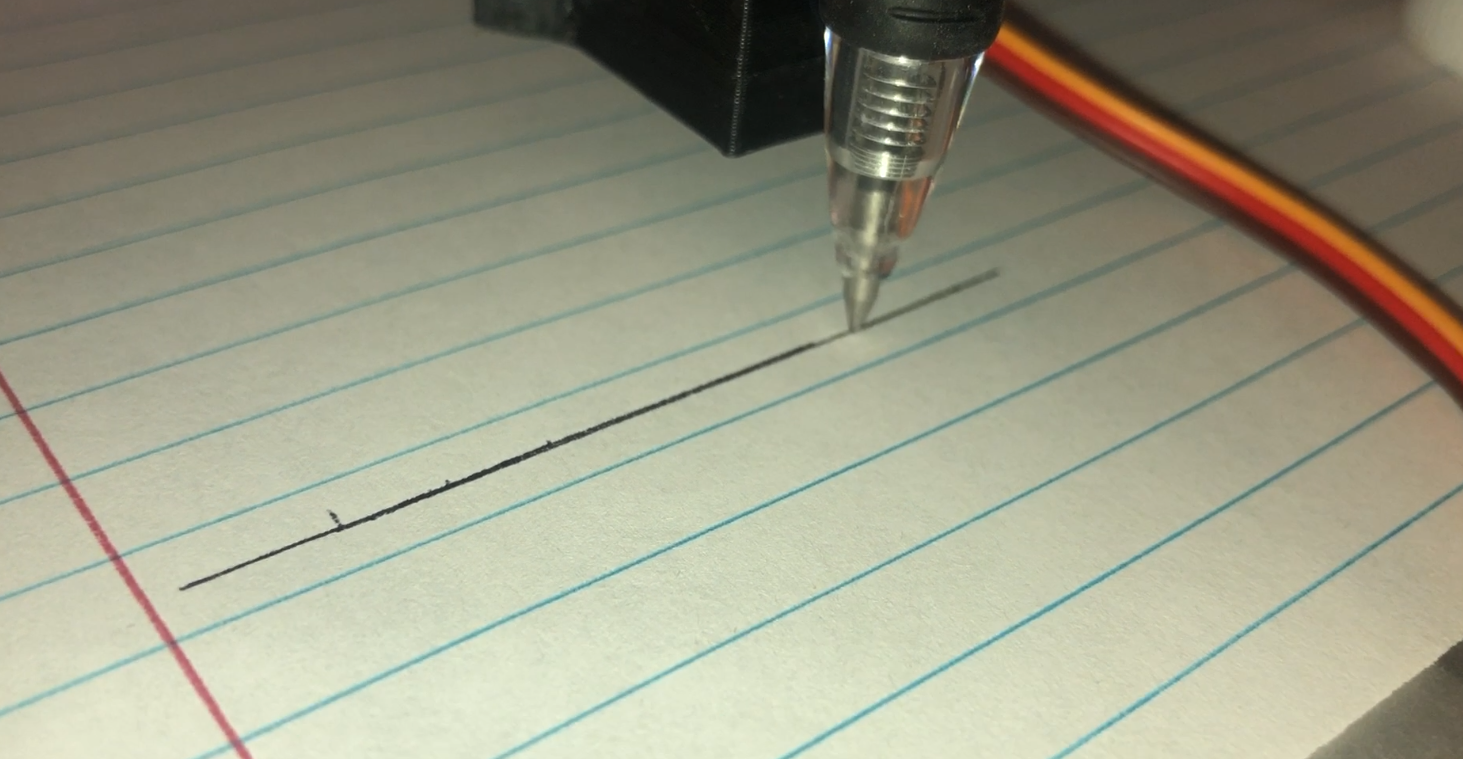
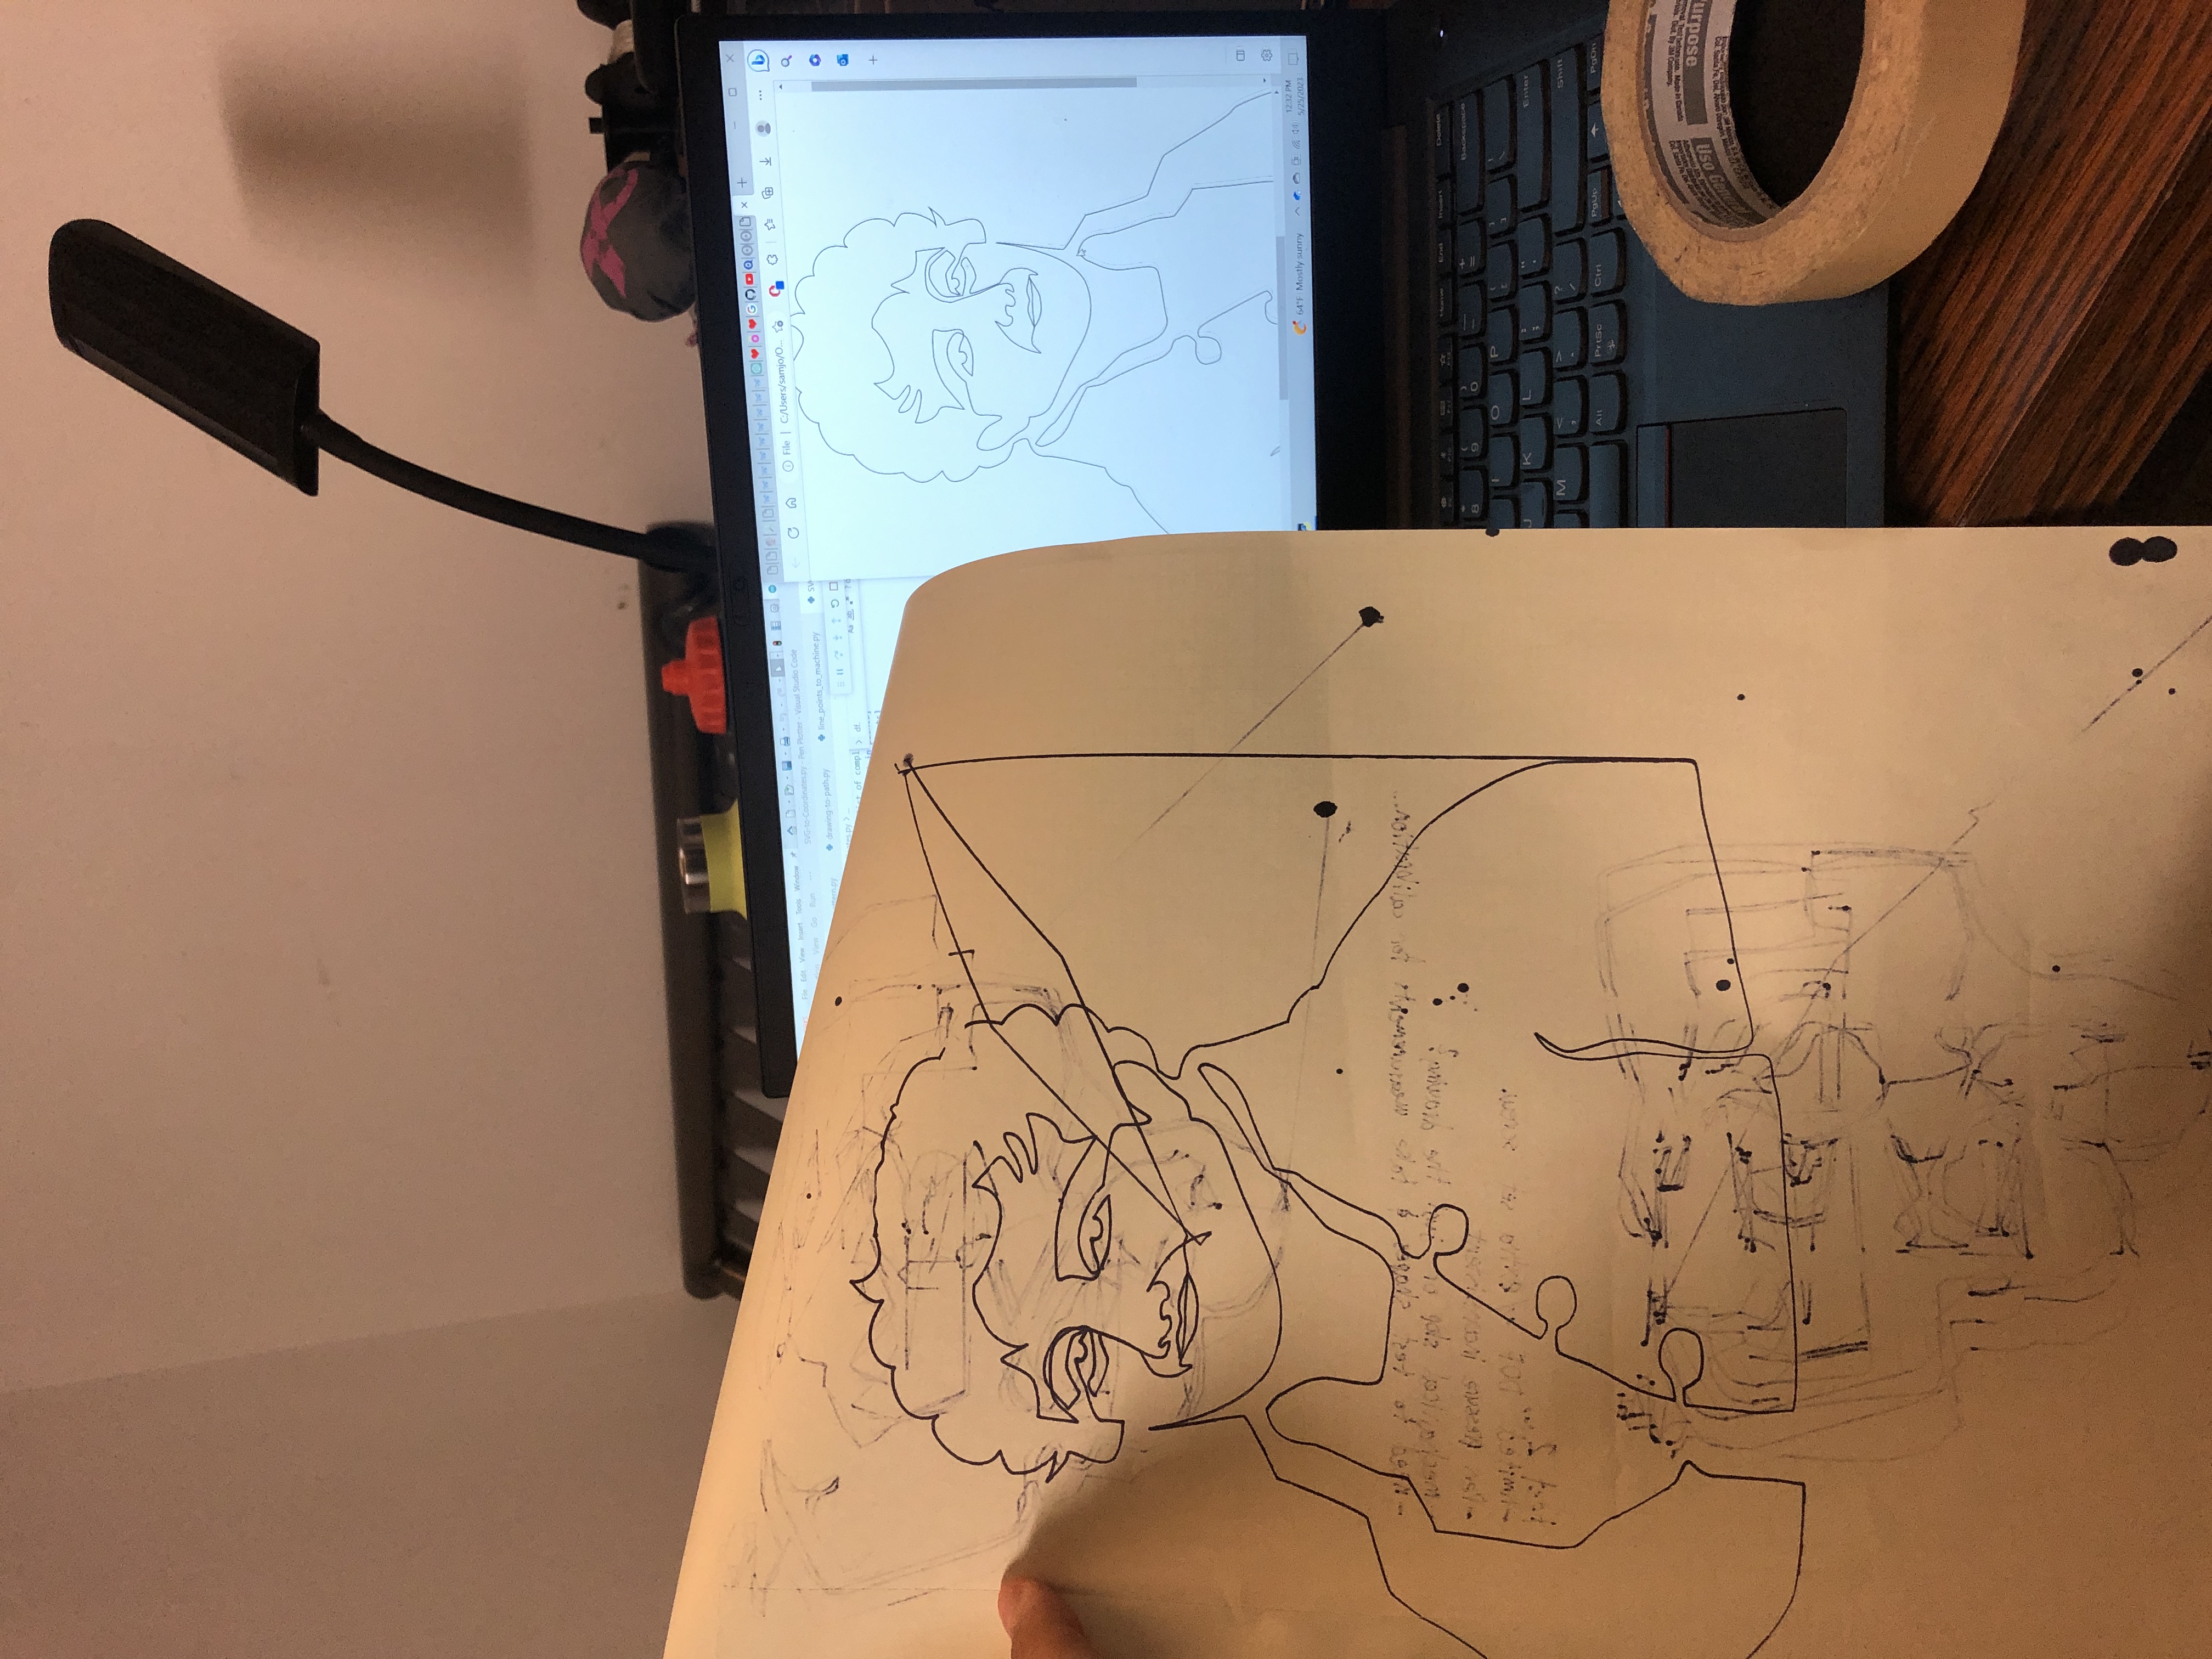
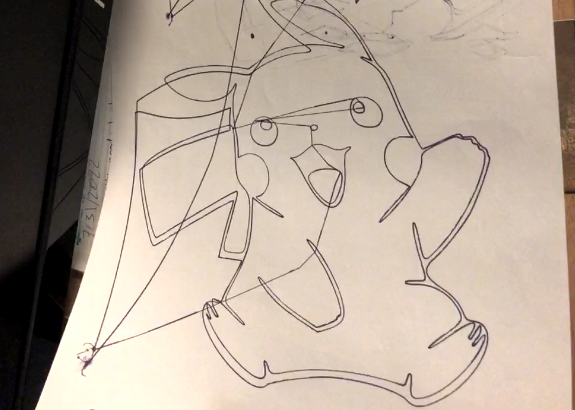
- Starting point: My old boss gave me a small CNC router. I had limited money for machining materials.
- The idea: I converted it into a drawing machine instead of buying a new system.
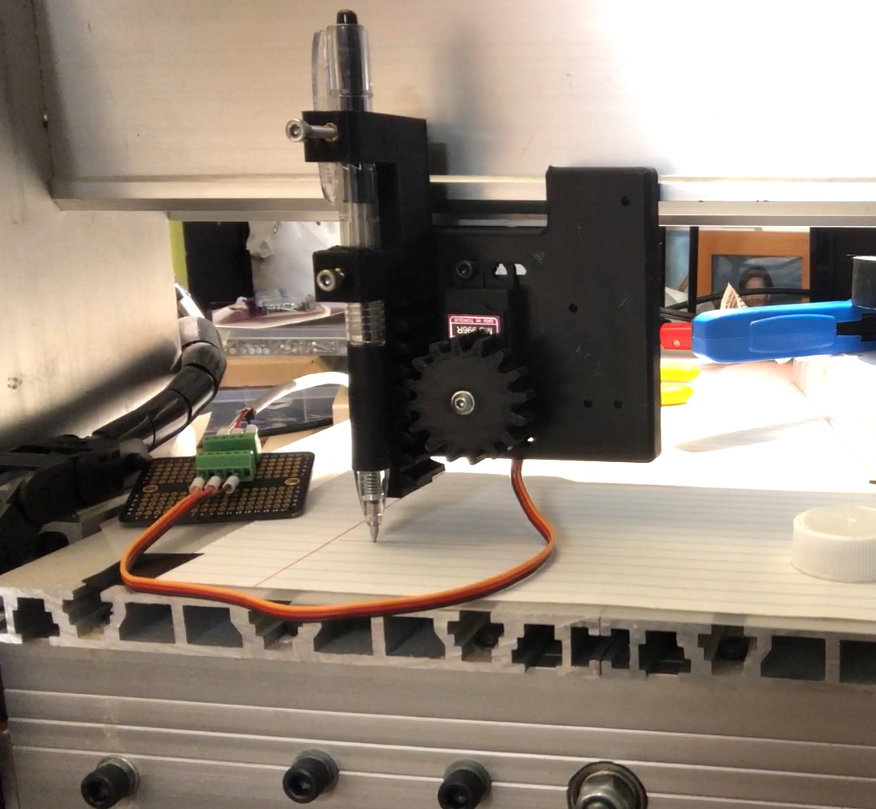
- Hardware: I used the existing steppers and made a printed pen-lift mechanism with a servo.
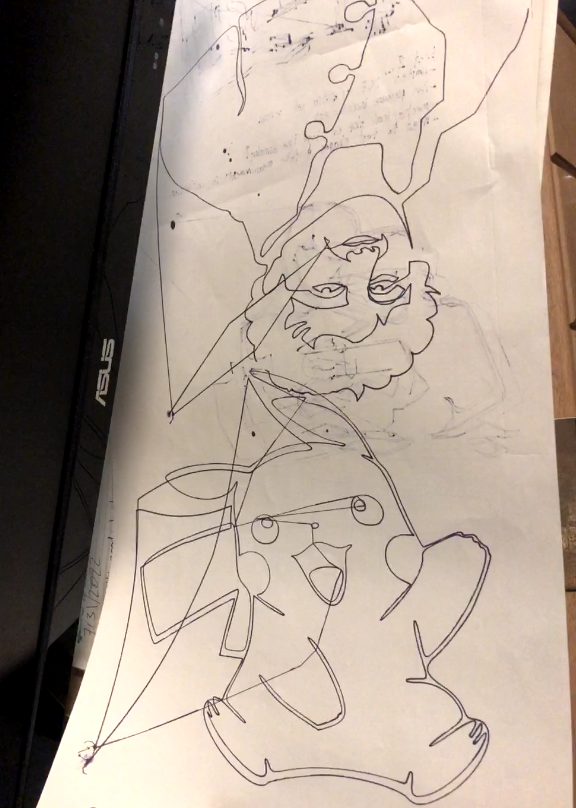
- Software: I wrote code to turn SVG curves into drawing paths the machine could follow.
- Proof: I posted videos of the machine drawing, including multiple original TikToks.
- Budget lesson: Reusing the router, motors and an old power supply kept the starting cost low. I did not record a complete parts budget.
Read the full build logExpand ↓
Make use of the machine you already have
- I had experience operating industrial CNC equipment. This little router was a different opportunity: I could change the machine itself. Instead of keeping the original spindle use-case, I replaced the cutting task with drawing on paper.
- That meant I didn't need expensive machining stock to get useful results. I needed a pen that moved precisely and lifted when it was supposed to.
Lesson: A limitation can point you toward a cheaper—and more interesting—first experiment.
Building the missing motion
- I wired the X and Y stepper motors to controllers and used a spare laptop power supply. For the third movement, I designed a small 3D-printed mechanism using a servo and rack-and-pinion arrangement to raise and lower the pen.
- Some geometries were too flexible or unnecessarily complicated. I iterated toward something that would actuate reliably and was quick to print, rather than chasing machine-tool accuracy for a proof of concept.
Lesson: Use just enough precision and stiffness for the outcome you're trying to prove.
Turning an image into physical motion
- A picture isn't automatically a path the machine understands. I wrote software to take SVG curves, approximate them with line segments, transform them into coordinates and scale them to the page.
- It connected design, mathematics and embedded control into one tangible result: a drawing made by a machine I'd repurposed myself.
Lesson: When you can explain each transformation from input to outcome, you understand the system much better.
How I'd present this project now
- I wouldn't lead with a long list of programming languages. I'd show the before-and-after: here was a router I couldn't afford to use as intended, here's the motion I added, and here's the actual artwork.
- That evidence says more about problem solving than any generic line about being 'passionate about robotics'.
What this really cost
- A previous employer gave me the small CNC router, which changed the economics entirely. I already had the basic machine, and I powered the steppers with an old laptop supply. That is different from claiming anyone could replicate the full system for free.
- The incremental build centered on stepper drivers, a servo and the small 3D-printed pen-lift mechanism. I never published a dated receipt-level BOM for those purchases, so the cost is best described as low additional materials expenditure rather than a precise price.
- The key saving came from changing the project goal: drawing on paper meant I could test motion control without buying machining stock and tooling for a router I otherwise could not use.
Lesson: Always identify what you already owned, borrowed or received free before giving a project budget.