I tried 3D-printing pre-creased origami.
Some complex origami requires hours of carefully pre-creasing paper before the first satisfying fold. I wondered whether I could print the crease pattern directly and skip that preparation.
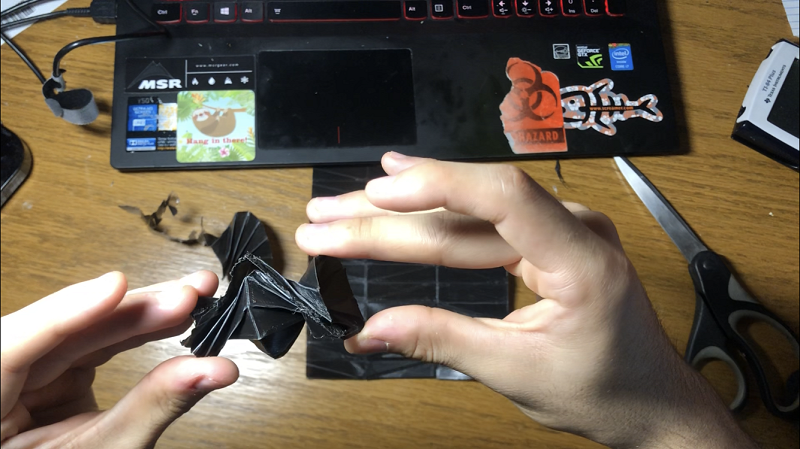
- 2021: Early independent experiment
- CAD → print: SolidWorks and FDM
- Iterated: Failures visible in the photos
Photos and actual test resultsSwipe or use the arrows · 12 images
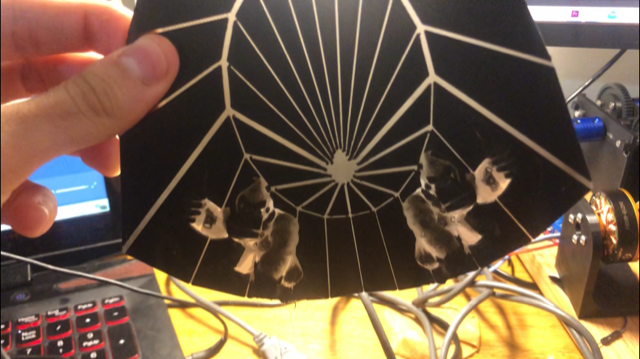
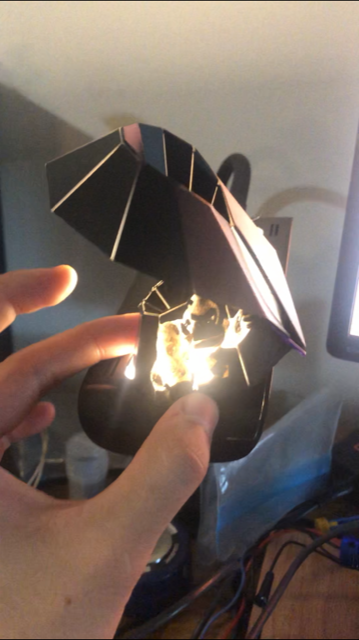
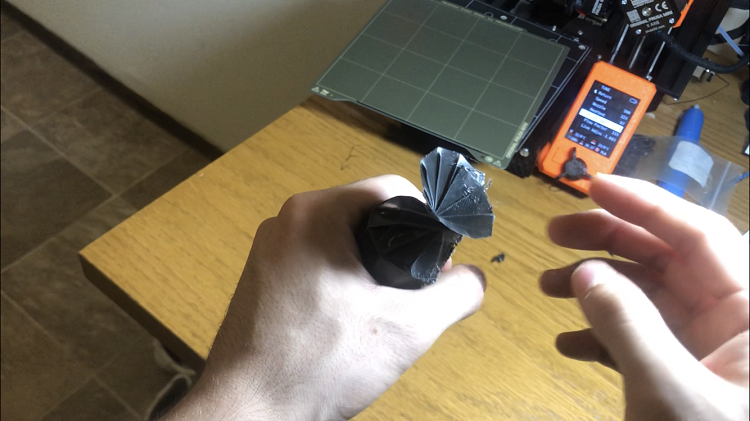
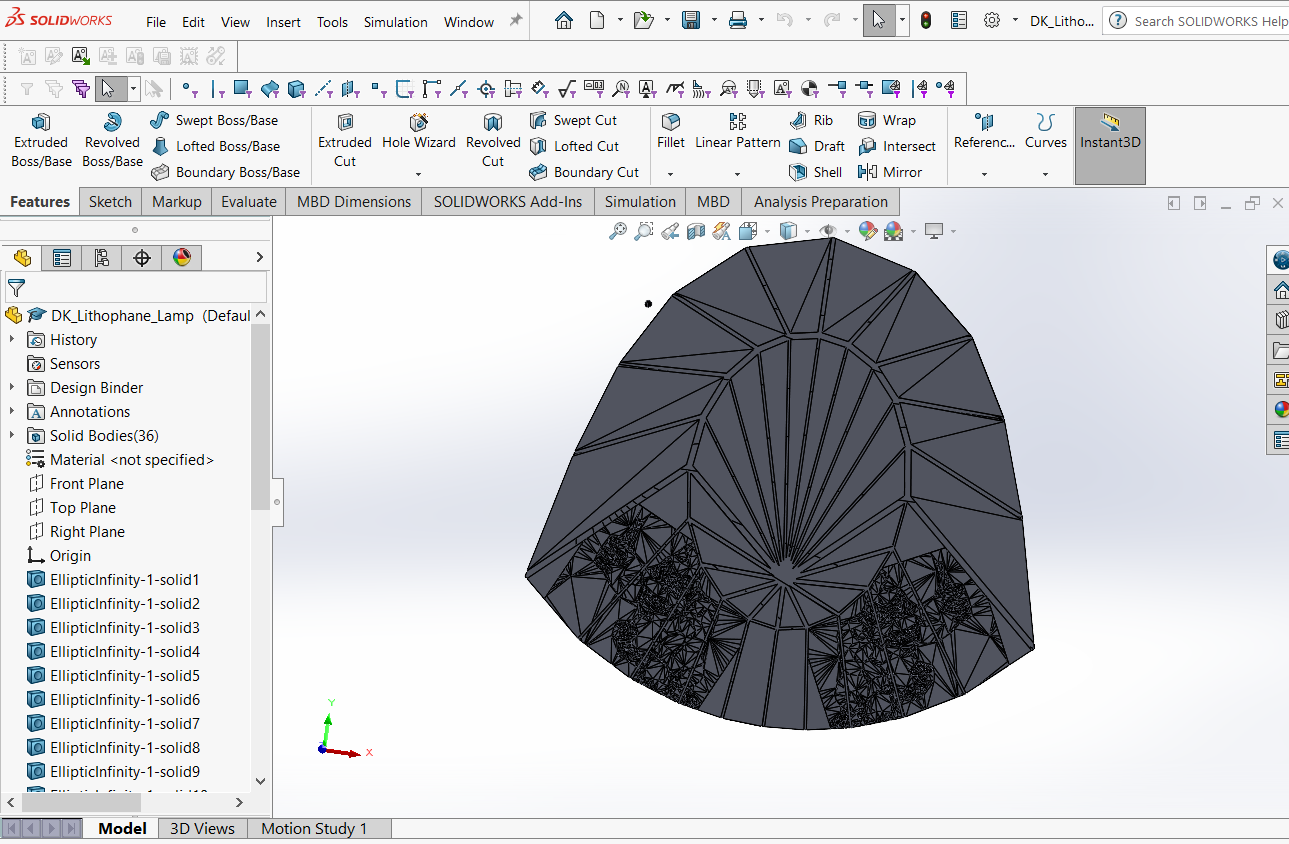
- The question: Could I print a sheet with fold lines instead of hand-creasing complex origami?
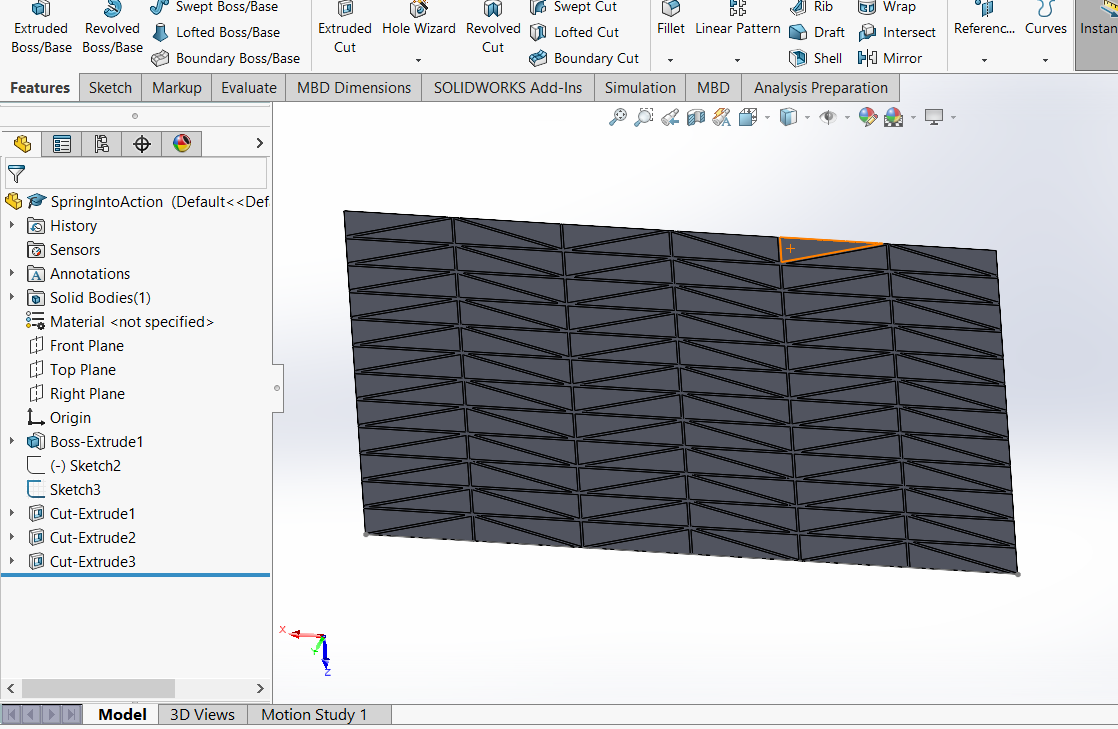
- My setup: I designed the crease pattern in SolidWorks and printed thin sheets on a Prusa Mini.
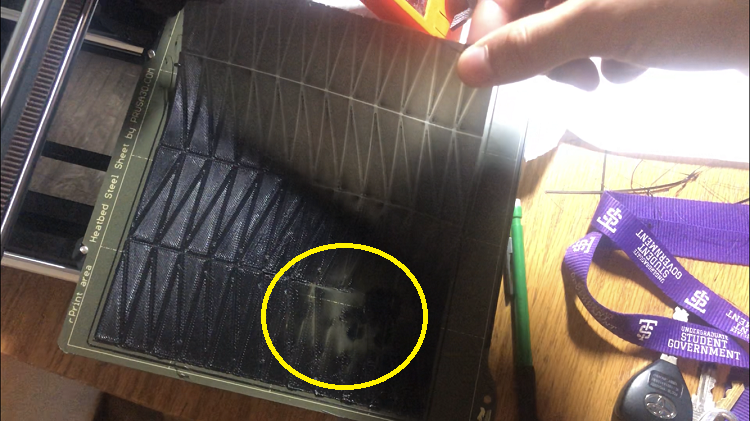
- First failure: Inconsistent bed adhesion and excessive thickness made the sheet hard to fold.
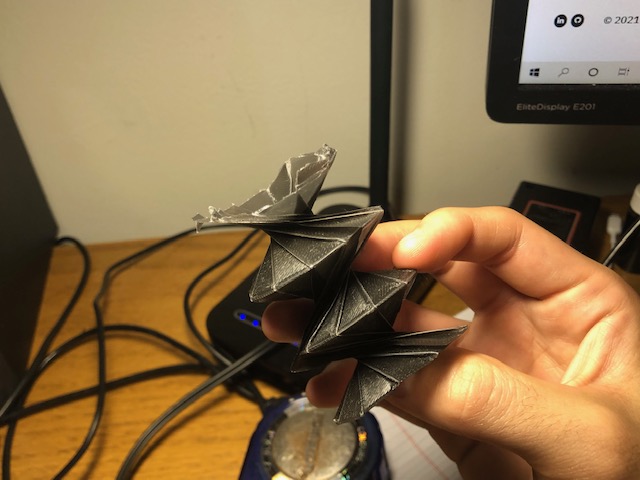
- What worked: A thinner 0.05 mm base layer made the material easier to collapse into shape.
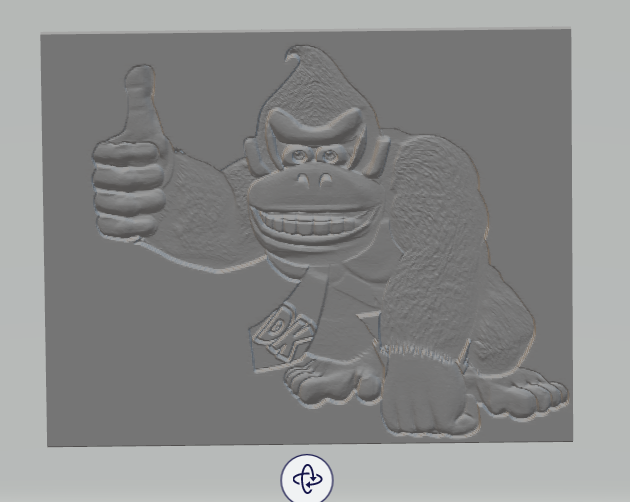
- Next test: I tried a folding lithophane lamp, broke a thick version, and iterated again.
- Budget lesson: CAD and small FDM prints let me test inexpensive ideas before buying special materials or tools.
Read the full build logExpand ↓
The idea was simple
- I modeled a crease pattern in SolidWorks and created thin regions where the material should fold. The hope was to get the precision of an established pattern without manually making hundreds of creases.
- A home-sized print bed limited the sheet size, but I could still test whether the basic folding behavior worked.
Lesson: You can test one essential property without reproducing the entire finished object.
The material didn't care about my plan
- The first printed sheets were too thick and difficult to collapse. Uneven first-layer adhesion made the thin sections inconsistent, and trimming imperfect areas changed the geometry.
- I washed the bed, revised the print settings and reduced the sheet thickness. Making the base plastic much thinner significantly improved how the pattern folded.
Lesson: Small physical details can dominate the outcome, especially when you're operating at the limits of a material.
Turning the experiment into something else
- I later tried a folding lamp with a custom lithophane pattern. Working with dense imported meshes caused CAD headaches, and early thicker panels cracked instead of folding.
- After simplifying the models and reducing the plastic thickness again, I got a miniature folding lamp to collapse successfully. It wasn't a polished retail product, but it answered the question that got me started.
Lesson: One curious experiment can turn into a second, completely different invention.
Print settings, materials and actual costs
- The main experiment was in SolidWorks on my existing Prusa Mini. The first trials used a 0.05 mm layer height with a thicker two-layer base; bed leveling and inconsistent first-layer adhesion made the material harder to fold than I expected.
- I tried reducing the sheet to a 0.05 mm base layer with a similarly thin follow-up, and the result folded noticeably better. Later, a custom lithophane lamp failed when the panels were too thick and succeeded after I lowered the plastic thickness again.
- This was an experiment in printer settings and consumable filament, not a machine purchase made solely for the project. I cannot verify historical grams of material or electricity cost from the archive, so I would rather show the failed and improved parts side by side than pretend to have an exact budget.
Lesson: If you already own the printer, record incremental filament consumption separately from the capital cost of the machine.